
Running Jupyter Notebooks on an AWS server
In this tutorial you will learn how to setup Jupyter Notebooks in your server. Let’s start by the beginning: creating your EC2 instance on AWS. If you already have your instance and really just want to get to using Jupyter, skip this by pressing here.
1. Creating your instance
So you heard that working on the cloud is fun, right? Let’s set you up with a basic and free server on Amazon Web Service (AWS). First, sign up here and then log in here. Choose a region that suits you like in Figure 1.
 Figure 1: Choosing a region based on your location.
1.1. SSH key pair
Now, we have to create a secure SSH key pair that will enable you to access the server from your local machine. For this, you have to go to EC2 service → Network & Security → Key pairs as in Figure 2. Click in Create key pair and choose its name. If you are on Windows, use a ppk file; if you are on Mac or Linux, use a pem file. Save this file in a secure location.
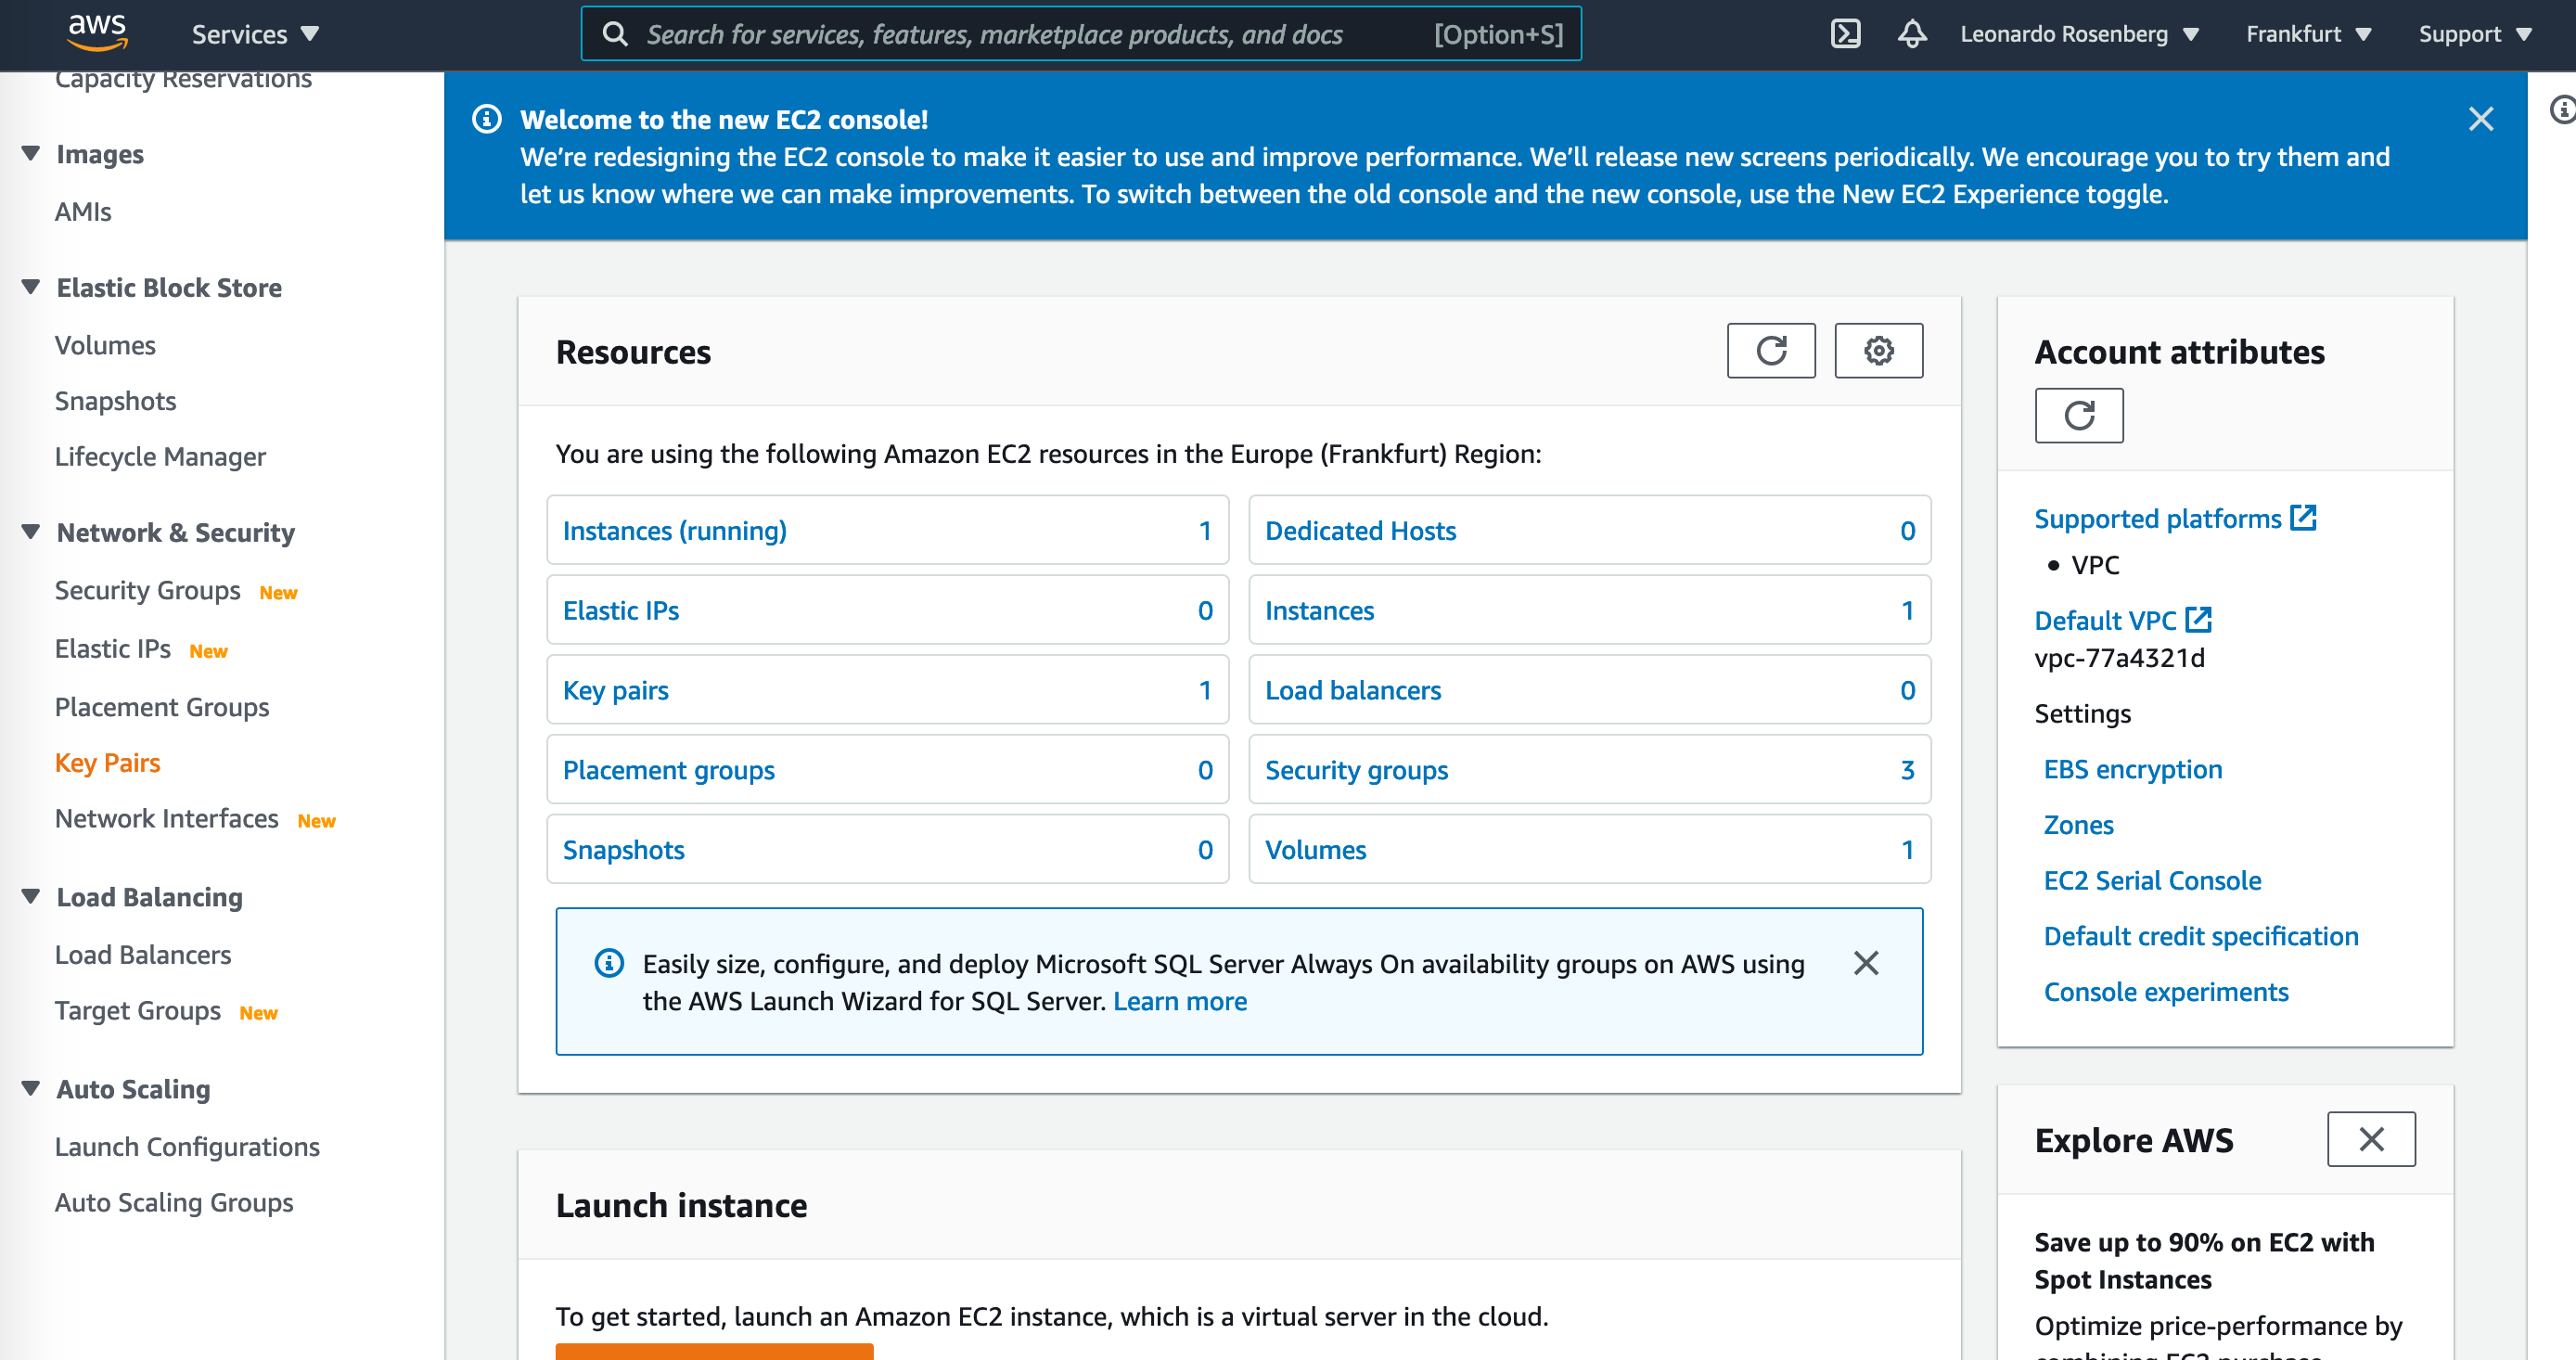 Figure 2: Creating an SSH key pair.
In the terminal, run chmod 400 path/to/key/file so that later on you will be able to easily access the server.
1.2. Creating the server
Go to EC2 service → Instances → Instances as shown in Figure 3.

Figure 3: Going to instances to create a new server.
Click on Launch instances and select your choice of Amazon Machine Image (AMI). Notice in Figure 4 that there are a few options elible for free, which may be suitable for small projects and for you to practice how to deal with AWS. For this tutorial, we will use the default free tier option of Ubuntu Server with t2.micro instance type. Click on Review and Launch. For the SSK key, choose the SSH key pair you created earlier. Wait until your server is up and running.
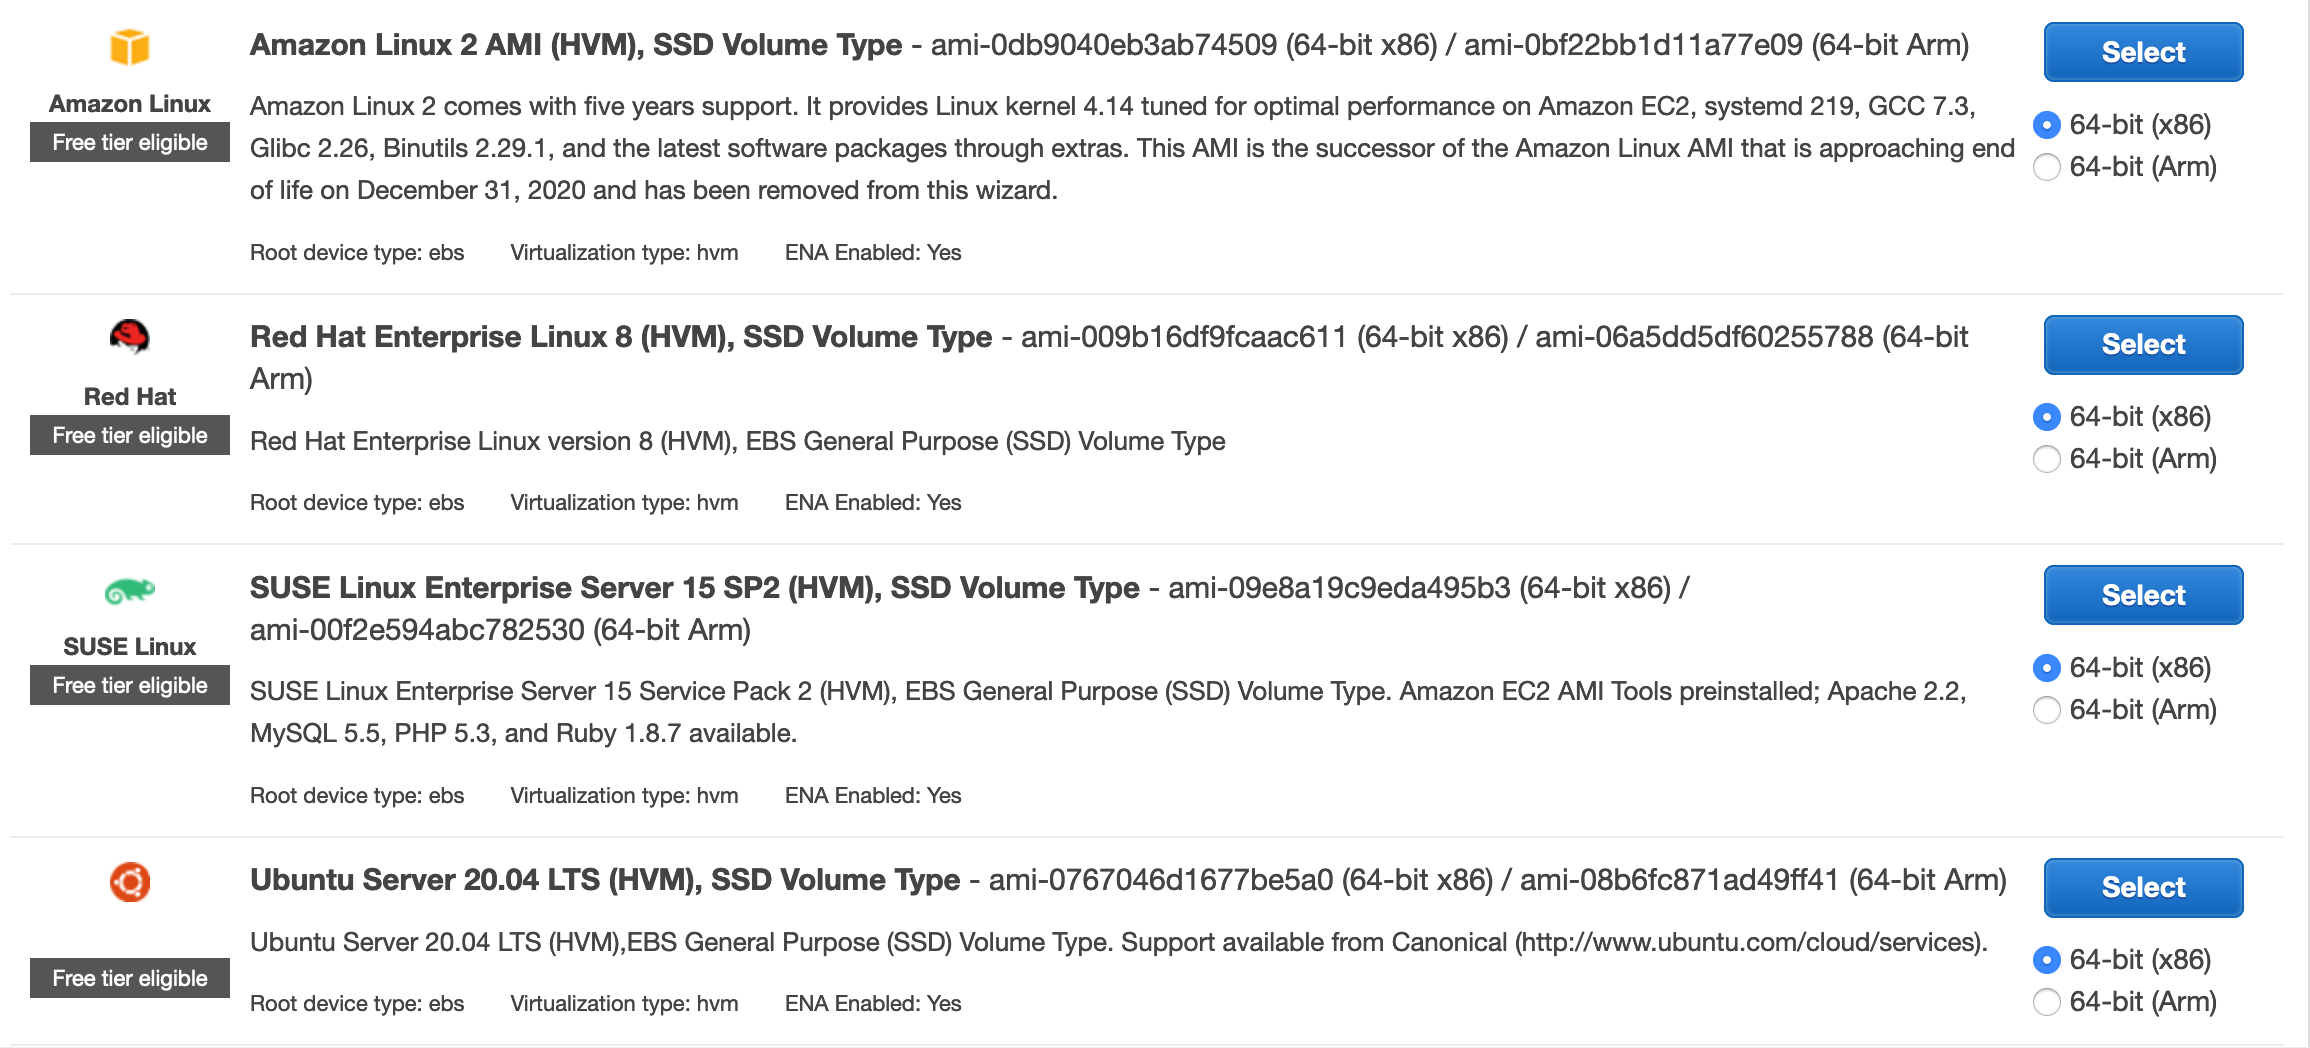 Figure 4: Some of the free tier options.
To access the server through the command line, copy the DNS of the server in Instance summary → Public IPv4 DNS. The default user in the Ubuntu Server is ubuntu, so to connect you have to:
$ ssh -i path/to/key/file user@DNS
An example would be:
$ ssh -i mykey.pem ubuntu@ec2-18-156-165-52.eu-central-1.compute.amazonaws.com
2. Setting up Jupyter Notebook on your server
2.1. Customizing your EC2 instance
We need to add a new security group to our instance before being able to run Jupyter on it. To do that, we go to EC2 service → Network & Security → Security Groups as in Figure 5. Click on Create security group and add a name and a description.
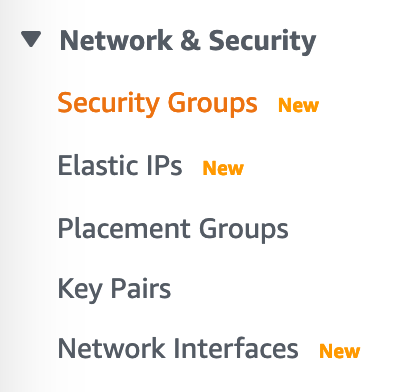
Figure 5: About to create a new security group.
After that, in Inbound rules, click on Add rule three times. One of them will be Custom TCP, the second HTTPS, and the third SSH. In all of them the source has to be Anywhere instead of Custom as in Figure 6. The Custom TCP sets in which port the website will run; SSH allows us to connect to the instance with SSH; and HTTPS makes it possible for us to actually connect our instance to a website. Fixing source at anywhere allows any IP address to connect to the instance, so use it with caution. Now, click on Create security group.
 Figure 6: Creating new security group rules.
Going back to your instance, EC2 service → Instances → Instances, right click on your instance, then on Security, and Change security groups as in Figure 7. Then, in Associated security groups, add the security group you just created. Click on Save.
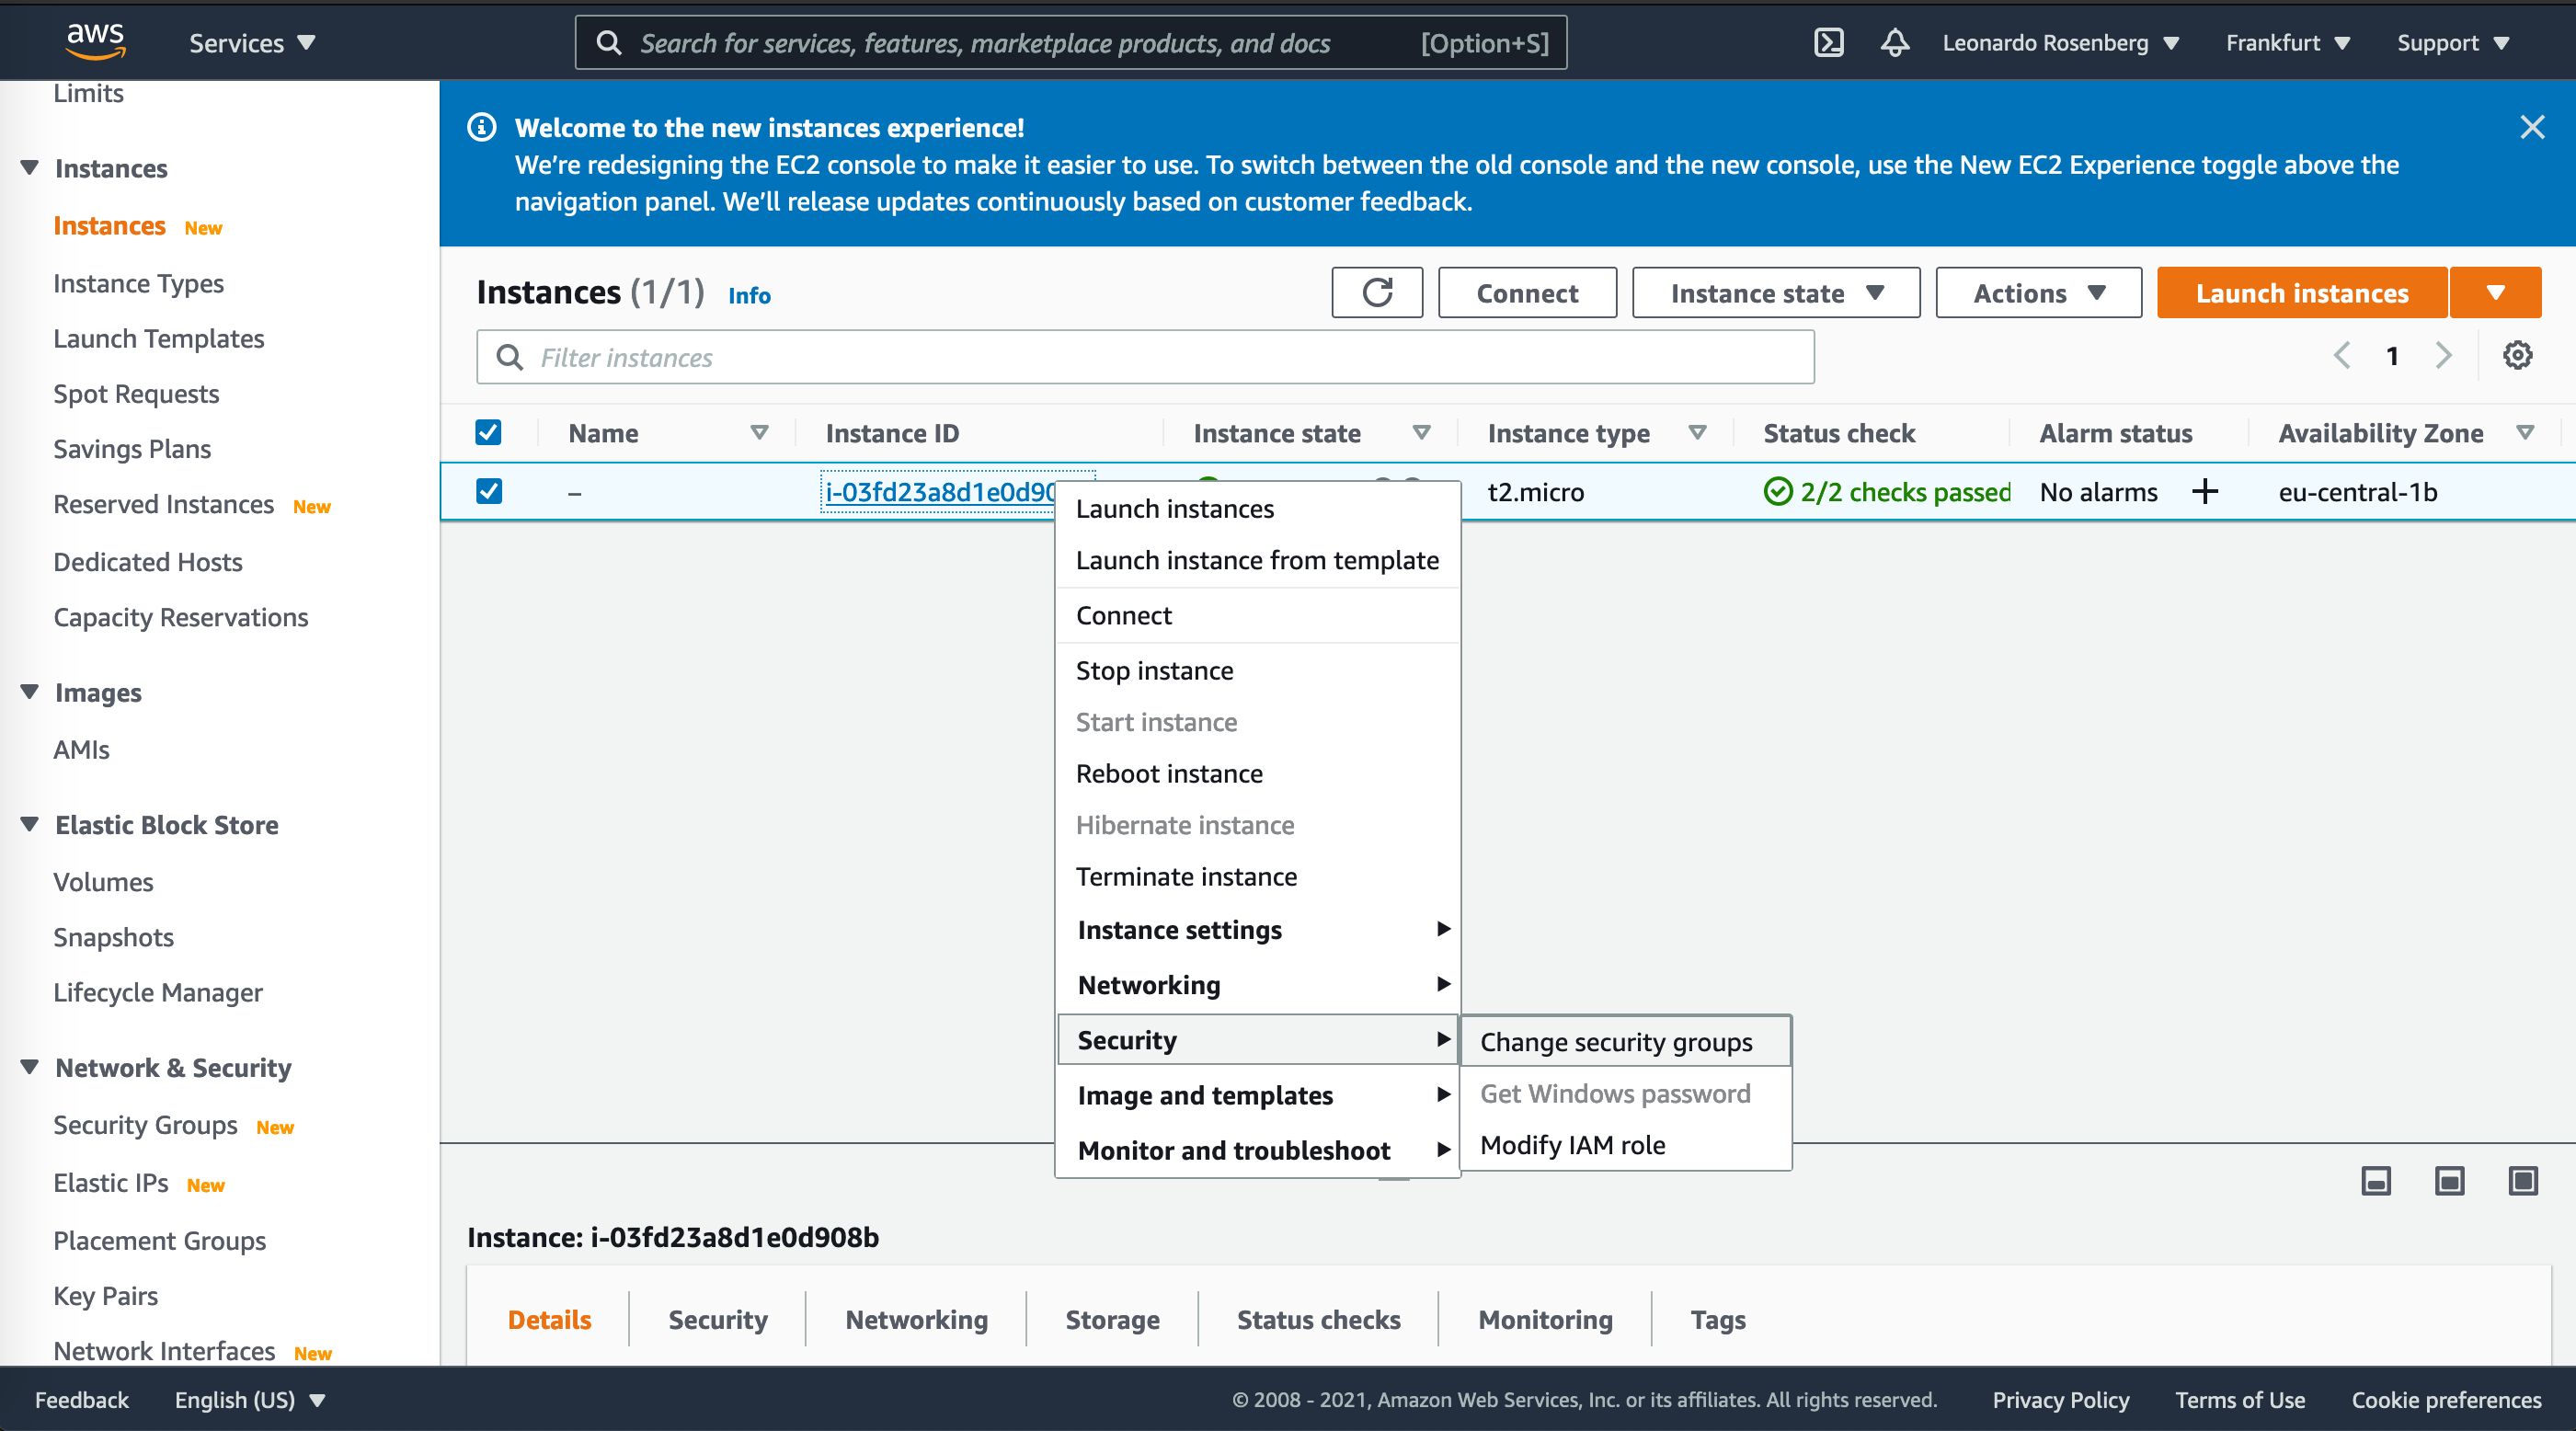 Figure 7: Adding the new security group to your instance.
2.2. Installing Jupyter Notebook on your server
To do this, you have two options: using conda or pip. Here, we will use pip. Make sure you have pip installed:
$ sudo apt update
$ sudo apt install python3-pip
Now, we can install Jupyter:
$ pip3 install jupyter
We have now to configure Jupyter to access it from a local machine using a password. In the server, we create a configuration file by running the following:
$ jupyter notebook --generate-config
We generate a password a hash password automatically and save into the configuration file:
$ jupyter notebook password
Enter password:  ****
Verify password: ****
[NotebookPasswordApp] Wrote hashed password to /Users/you/.jupyter/jupyter_notebook_config.json
Keep the password used here because it will be used to access Jupyter from your local machine.
To run Jupyter Notebook from the server, we need to run the following command:
$ ssh -i path/to/key/file -L 8000:localhost:8888 user@DNS
And an actual example:
$ ssh -i mykey.pem -L 8000:localhost:8888 ubuntu@ec2-18-156-165-52.eu-central-1.compute.amazonaws.com
We can, now, run Jupyter in the intended directory:
$ jupyter notebook --no-browser --port=8888
Finally, in your local machine, you can access Jupyter in your favorite browser with http://localhost:8000. There, you will be asked to insert the password you used earlier, as shown in Figure 8.
 Figure 8: Jupyter from the server asking for a password in the local machine.
Enjoy your Jupyter Notebook server!
For more information, visit the documentation.